 |
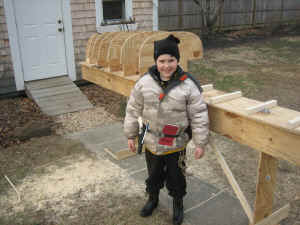
The molds were being set up in February, 2006. I had
"lofted" the shape of the molds a few years before. The
molds and building table were all built from scrap plywood (mostly
5/8") left over from two roofing projects.
Please note that if you are building this boat directly from the book Canoecraft,
there is some information missing. An errata is located here.
|
 |
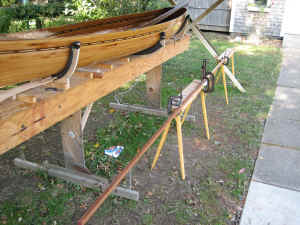
A windy day knocked over the mold - later the mold was staked to the
ground. |
 |
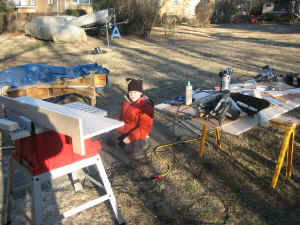
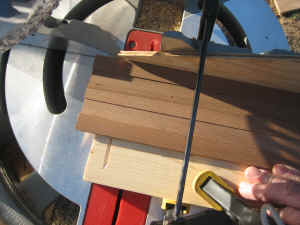
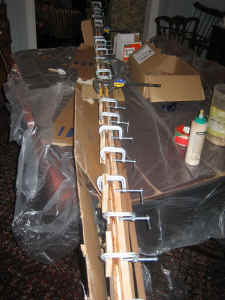
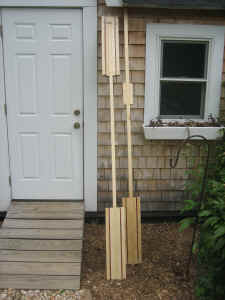
In March we set up for ripping and shaping the strips. The cedar
was local (South Jersey) S4S white cedar in 14ft lengths. |
 |
I had the bright idea to put the bead and cove on and rip the strips in
one pass. It did work, but it was difficult to adjust. I think
the next time I'll rip first and then put both the cove and bead on at the
same time.
Another downside of this setup is that one cutter has to cut in the
same direction as the feed. A positive is the tear out is not a
problem. |
 |
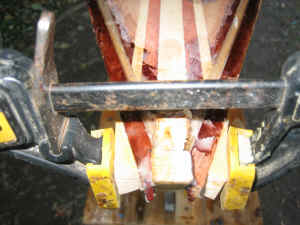
This is the setup for cutting pieces for the feature strip. Here
we are cutting five pieces at a time. |
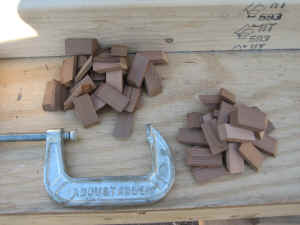 |
Here are the pieces as cut - many more were needed. |
 |
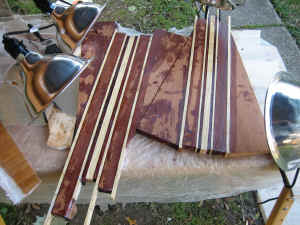
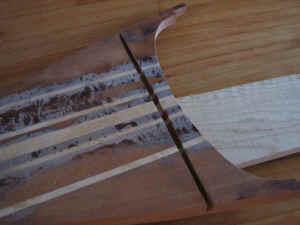
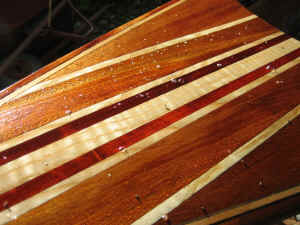
This shows how the strips were built up. Both of the woods were
western red cedar. It seemed odd to find red cedar which was whiter
than the the eastern white cedar.
After it is glued up, it is ripped into strips. What I didn't
consider was that the strips would not look right after a cove and bead
were put on. So these strips were glued to mating strips which had
"flat" sides.
|
|
|
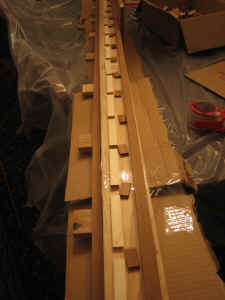
The whole boat was built outside except for this step of gluing up
the feature strip. A straight 2x4x16 was used as the base, with
plywood blocks screwed in to hold the strips on the edge. In this
view everything is in place before the glue is applied. Some help is
useful in getting it clamped before the glue starts to set - my wife
graciously agreed for this one. |
|
|
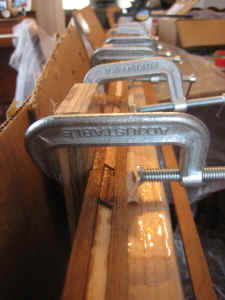
The feature strip is sitting on the 2x4 and clamped to the plywood pads. |
|
|
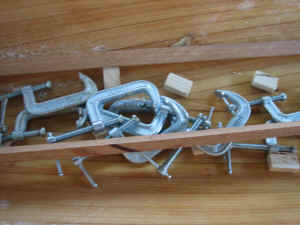
Yes, that is a lot of clamps and yes, that is the dining room table and
oriental rug... |
 |
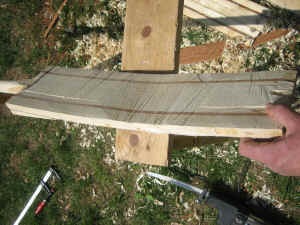
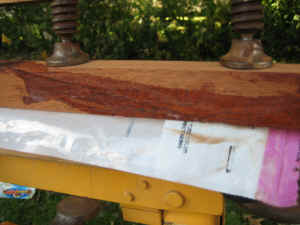
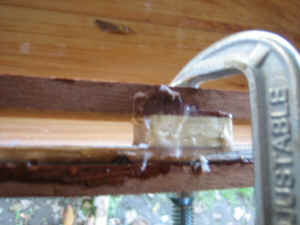
It looked a little rough after gluing, but after a few passes with a
plane it looked great. |
 |
Stripping began in April. The glue was Titebond III which has a
minimum temperature of 45F. I often pushed the limit which did
result in chalking on the exposed areas. The joints themselves
seemed fine. |
 |
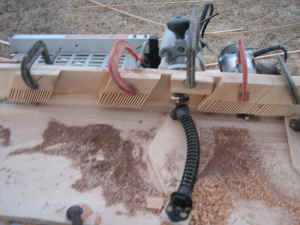
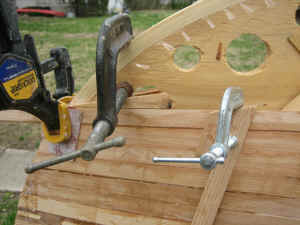
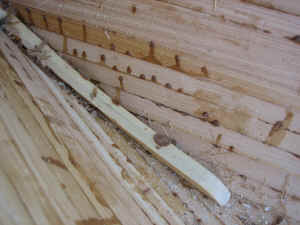
Here is the basic clamping setup (no staples):
 | U-shaped plywood holder clamed to mold |
| Planking wedge to hold plank down to the one it is being glued to |
| Shim to hold planking against mold (where needed) |
|
 |
Plank ends were brought together and cutoff |
|
|
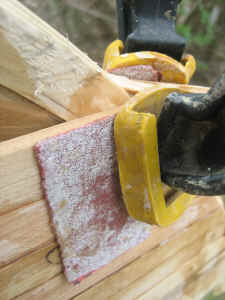
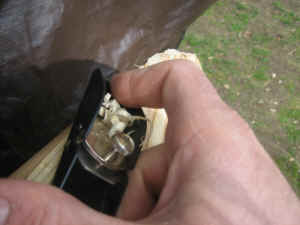
Clamping to the stem was done with just a quick grip clamp with a
sandpaper pad. The sandpaper pad was just a sheet folded in half and
glued together. |
 |
Typical clamping setup. I usually glued two planks on a side at a
time using Titebond III. |
 |
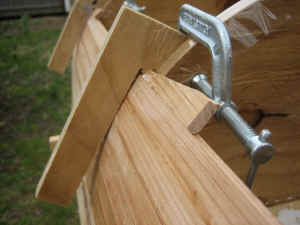
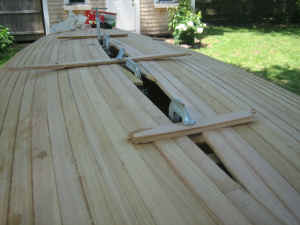
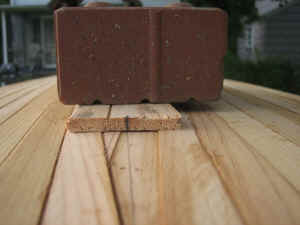
Here are a few examples of ways to keep the planks tight. You may
notice that about halfway down there is an example of a spot where I did
not make a good effort to keep the planks together. |
|
|
In the area which has strong transition in plane, some more creative
clamping solutions are needed. |
 |
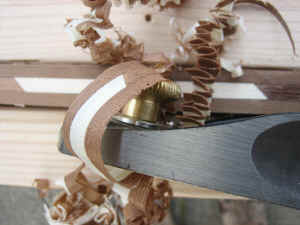
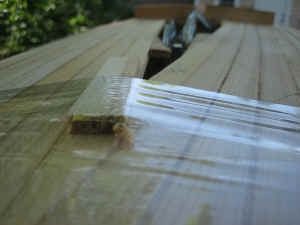
I found a small modeling plane handy for trimming the planks. |
|

|
Tape and wedges were also employed. |
 |
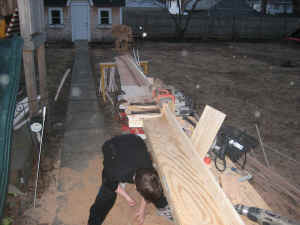
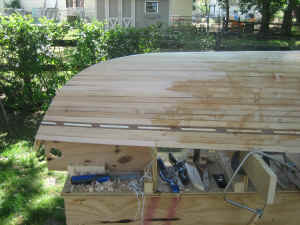
By the end of April planking had progressed past the bilge. |
 |
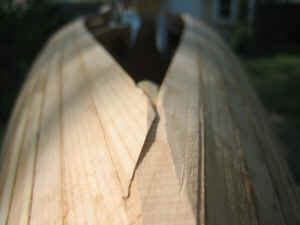
Here it is clear how the planks were lapped over each other. |
 |
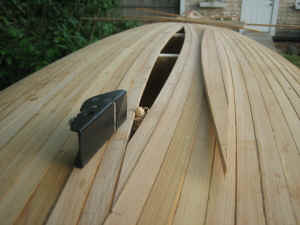
A herringbone pattern is formed by alternating the planks. Once
planking progresses to this point the planks kind of snap into place. |
|

|
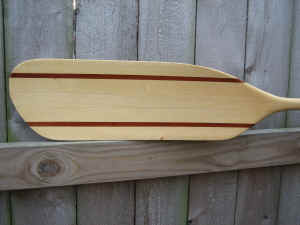
The paddle is glued from spruce and mahogany. The spruce is from
2x stock. Here in South Jersey spruce 2x4s and smaller are pretty
easy to find but they are too knotty to use for a paddle shaft. I
used to buy higher grade spruce 2x stock at EL Spear in Rockland Maine,
but now have had better success looking through the larger 2x stock at the
Home Depot in Rockland. My father just brought back three 2x6x12s
which might have enough clear and straight grain to make another three
paddles. |
|
|
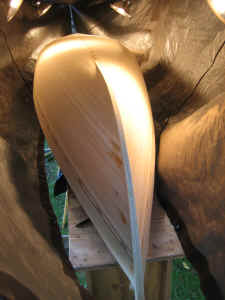
The "football" shaped bottom comes into view. Pretty
soon the 2x4x16 which was used to support the tarp will have to come off. |
|
|
Blanks for both the single and double paddle are glued up. The
single will be cut off above the handhold. |
 |
I couldn't resist planing a little bit to see how it would look without
the glue on the surface. |
 |
Packing tape and scrap being used keep the planks fair. It is now
approaching the point where it is not possible to snap in any more planks
and the complete remaining "football" is glued in in one piece. |
 |
The last snapped-in plank is in place. |
 |
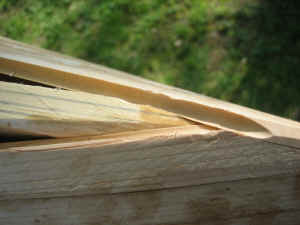
Here is the football ready to go in. The mating plank edges were
planed flat (the cove was removed). |
 |
Do what it takes to hold it in place. |
 |
The paddle is starting to be shaped by cutting out the initial
waste. |
 |
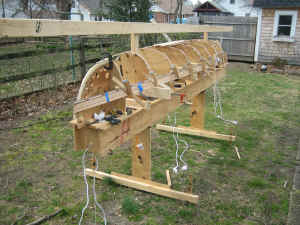
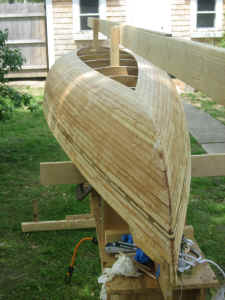
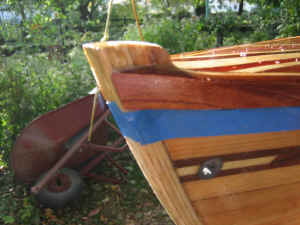
In June, the outer stem is glued up on top of the planked boat. |
 |
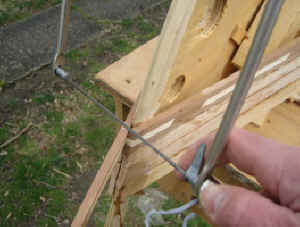
A Spanish windlass pulls the two stems tight to the hull (there are no
metal fastenings used anywhere in the boat). |
|
|
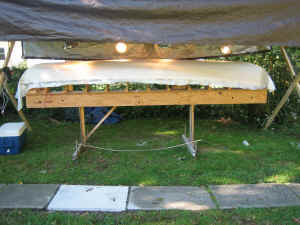
Things were dormant for July and August due to heat and vacation.
Sanding and preparation for fiberglassing started in mid-September. |
 |
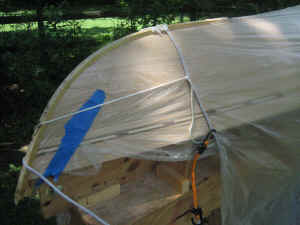
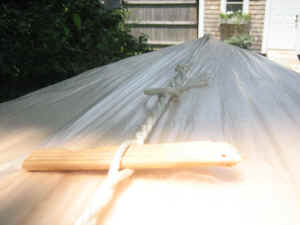
A new cover setup was needed for the fiberglassing. Previously the
tarp was just set over the boat or over the single 2x4 above the boat (in
place until the bottom was almost closed in). With this setup, the
tarp could be set up as in the picture, or over ropes stretched between
the ends of the uprights. |
 |
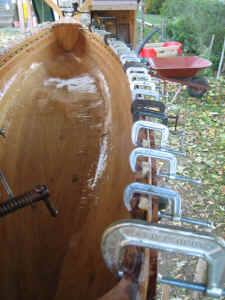
Fiberglassing the exterior occurred on the second week in October. |
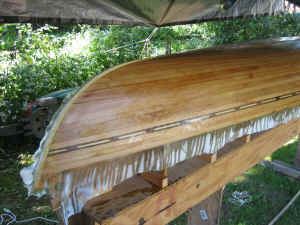 |
The first coat - cloth pattern clearly visible. |
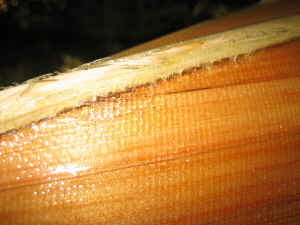 |
The transition to the outer stem was difficult. |
 |
The interior was a bit rough, but cleaning it up was not as bad as
others made it sound. |
|

|
After a bad rain, the boat had water inside so we brought it inside to
dry out. |
 |
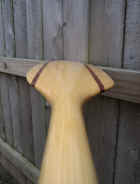
Deck blanks glued up: Mahogany, ash and paduk. Unfortunately
the paduk did not look much different from the mahogany after being
finished. |
 |
After the interior was fiberglassed, bulkheads were fitted. You can see
in the photo that I didn't do real well in keeping the epoxy from floating
the cloth in places. |
 |
A closer view of the bulkheads. They were fiberglassed on both
sides at the same time as the interior was fiberglassed; then they were trimmed
to shape.
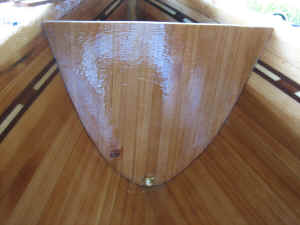
In the bulkhead is the drain plug setup. It consists of a brass
pipe bushing and a brass cap to fit. I'm told that it is needed to
equalize the pressure between the inside and outside of the
compartment. The idea is to take out (or loosen) the plug when in
storage and particularly when in the sun and not in the water so that
"oil-canning" does not occur. |
 |
This brass pipe is for the painter. |
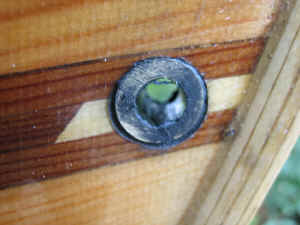 |
The pipe after installation. The black color is from the graphite
I mixed in with the epoxy so that there was no white line around the pipe. |
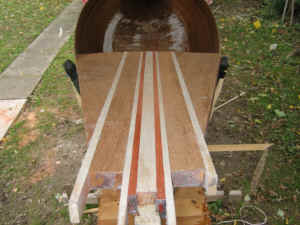 |
The glued up blank for the deck is being fitted. |
|
|
The spot where the bulkhead will go is sanded before gluing. You
can see that I did not try to perfect the finish in the area hidden by the
bulkhead. |
 |
The underside of the deck has a slot for the bulkhead. I didn't
bother sanding the glue here but did recoat when the compartment was glued
up. |
 |
The edges of the bulkheads were also sanded and the pipe bushing taped
of so that it did not get partially filled with epoxy. |
 |
The bulkheads were taped in place and the epoxy was forced into the gap
between the bulkhead and the boat from inside the compartment. |
 |
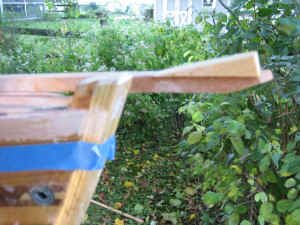
The gunwale had to be scarfed. |
 |
Another view of the gunwale being glued up in late October, 2006. |
 |
The gunwales had angled pads glued on with superglue which made clamping
easy when the two gunwales were glued at the same time. Tape was
applied below the gunwale area. Next time I'll be sure that all the
tape is actually below that point to make removal easier. |
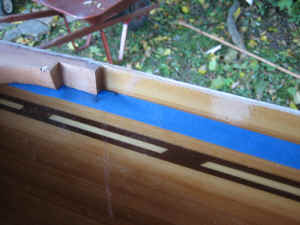 |
Tape was applied on the inside as well as the outside. Also
visible is where the breasthook/deck mates with the inwale. |
 |
All the clamps and spacer blocks were laid out along the bottom of the
boat. |
 |
The gunwales are glued up at the same time as the inwales. Note
the clamp pads. |
 |
Inwale, glue block, planking and outwale. |
|
|
Get your clamps ready if you decide to glue everything up at one
time. It was now October 30 and I was getting impatient to finish
before winter. |
|
|
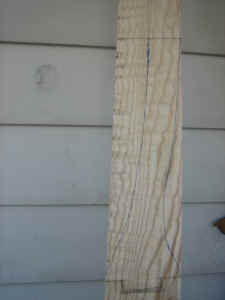
The thwart shape is drawn on a piece of ash. I was fortunate to
find that the grain in the piece of ash I had followed the curve of the
thwart. |
 |
Here is what happens when you use epoxy outside and the sun dips under
your tarp: lots of bubbles. Also, bugs love to stick on it too
(look particularly at the bottom of the photo). |
 |
The bubbles are also visible in this photo The outwale is being tapered
and faired into the stem. |
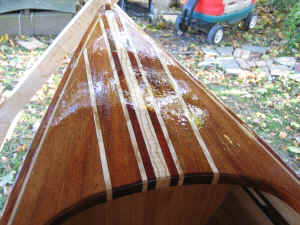 |
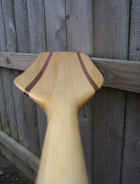
November 3rd: A view of the deck/breasthook after most the bubbles and
bugs were removed. |
|
|
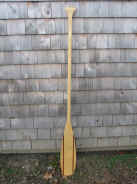
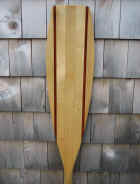
The completed single paddle is 62 1/2" long. |
 |
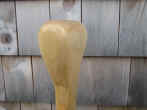
Single paddle handle and blade curvature. |
 |
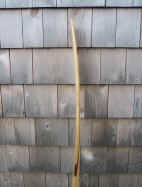
The blades of the double paddle are asymmetrical. The overall
length of the paddle is 8' (230cm for the metrically-inclined). |
|
|
Some of the shaping of the paddle blades is evident in this view. |
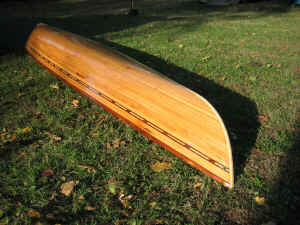 |
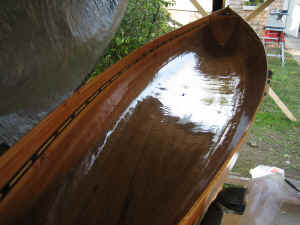
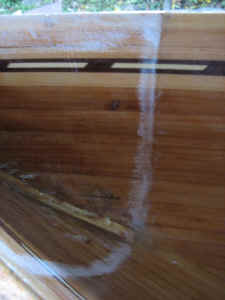
The boat was launched on November 4th. If you look carefully at
the photo you can see a few scratches on the bottom from the first day of
use.
Final sanding and
varnishing of the boat will have to wait until winter. The boat will
be kept out of the sun, so that should not be a problem. The
somewhat-rippled finish looks pretty good from a few feet away and will
not prevent me from using the boat... (see
in-the-water photos here)
|
 Welcome!
