Minimost - Building
|
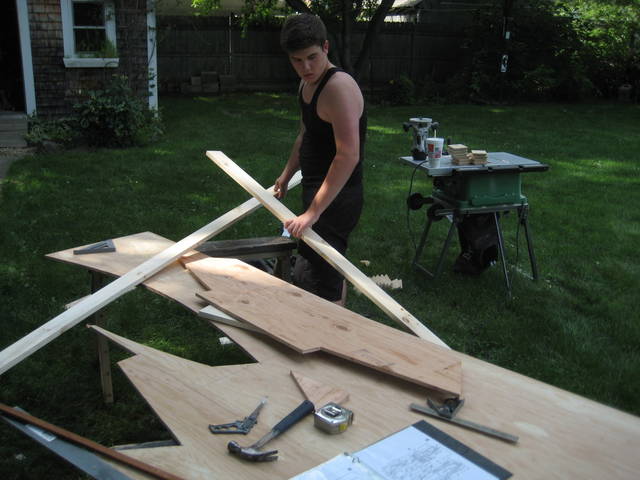
1 - The first steps in the build process are to cut out the transom and the single midship frame. This boat was built a little differently than the plans - the transom motor board was made wider to meet up with coamings that paralled each other on each side of the cockpit. |
|
|
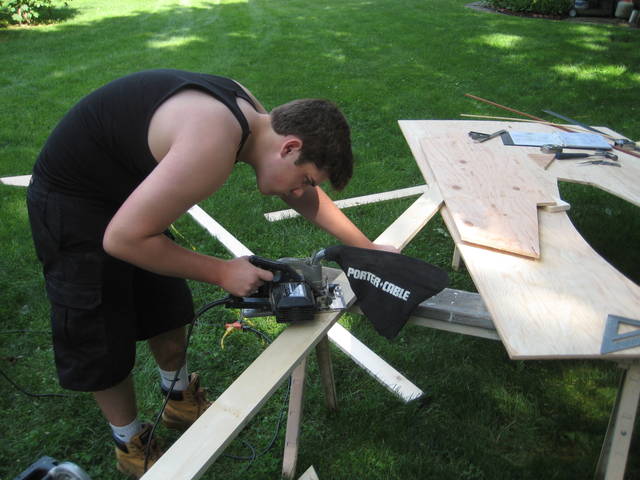
2 - Boards are then cut to fit around the perimeter of the transom and midship frame to be used as as nailers. |
|
|
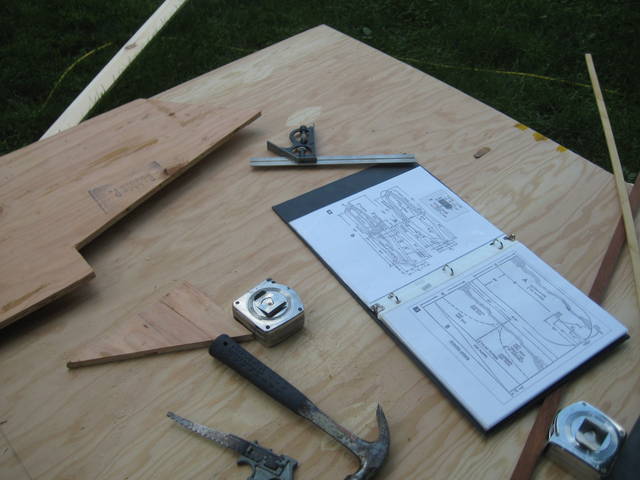
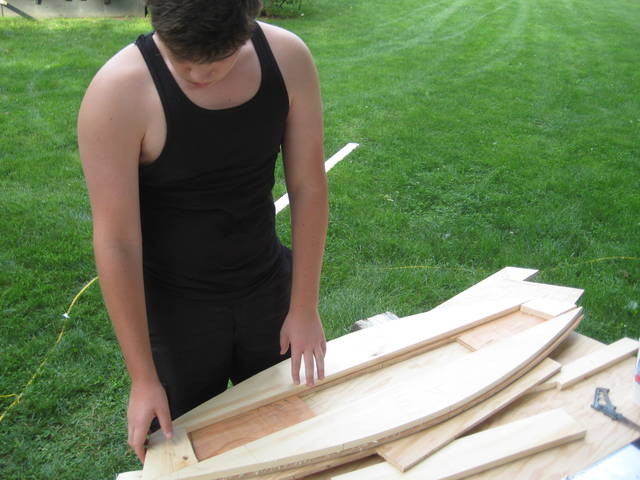
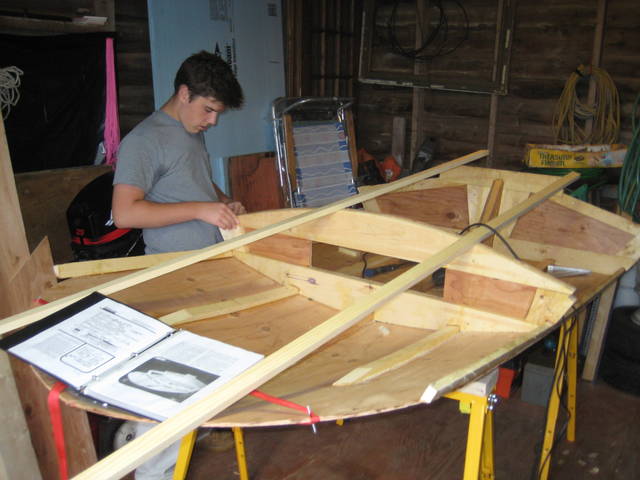
3 - Just a couple pages of plans are needed to build the boat. No fullsize drawings are needed - just draw out the transom and midship frame right on the plywood. The rest of the boat is built around these two parts more or less by eye. |
|
|
4 - Transome blocking. |
|
|
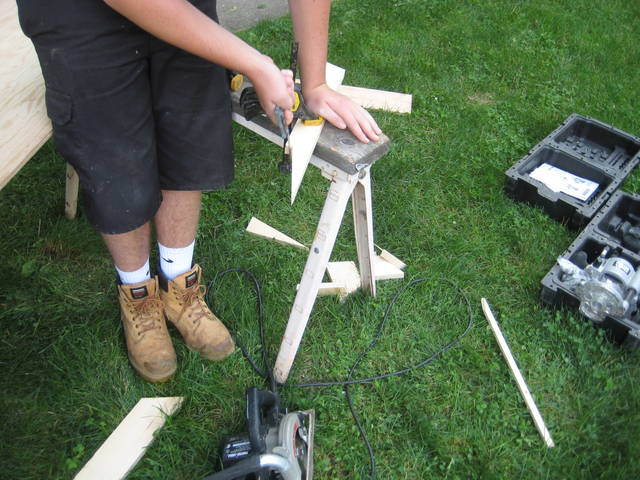
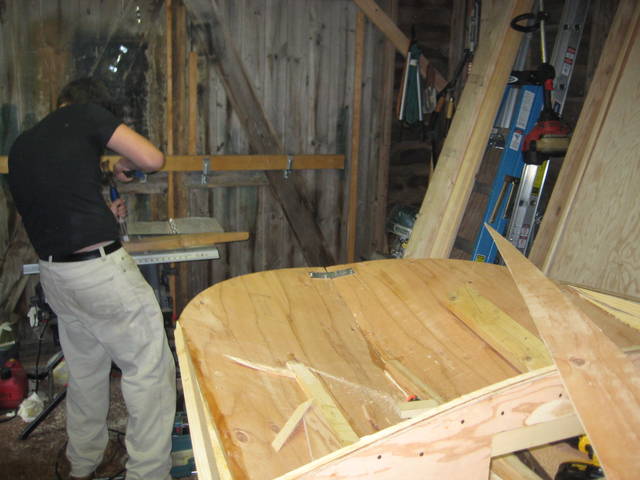
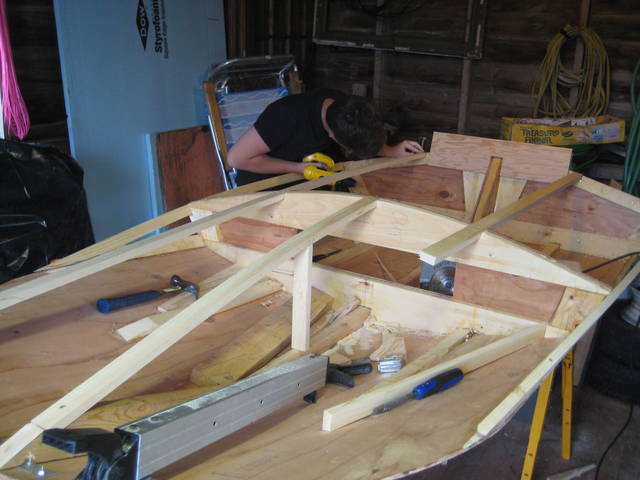
5 - Fitting the transom pieces with a hand saw. |
|
|
6 - Transom blocking nearing completion. |
|
|
7 - Midship frame blocking. |
|
|
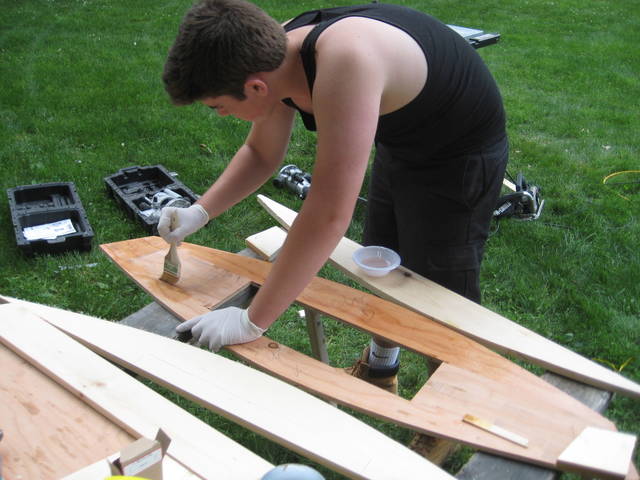
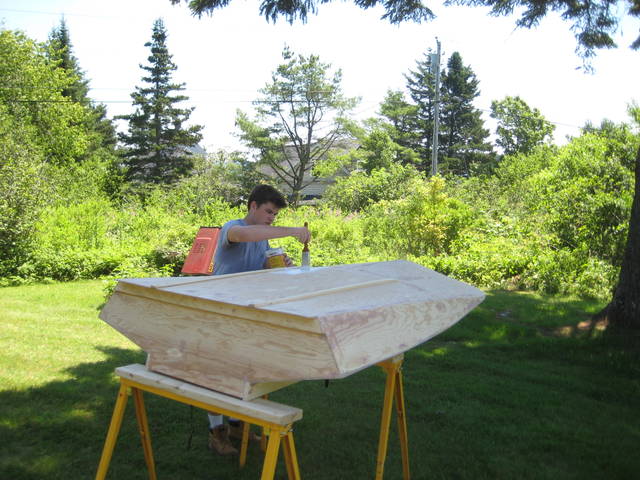
8 - Applying epoxy to the panel. |
|
|
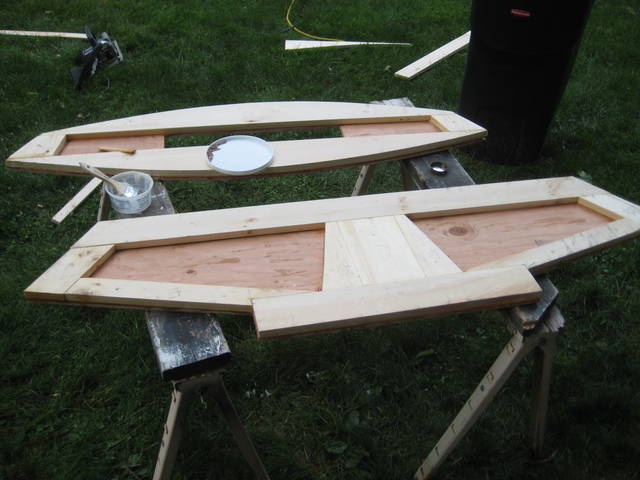
9 - Transom and midship frames glued and nailed with bronze ring nails. |
|
|
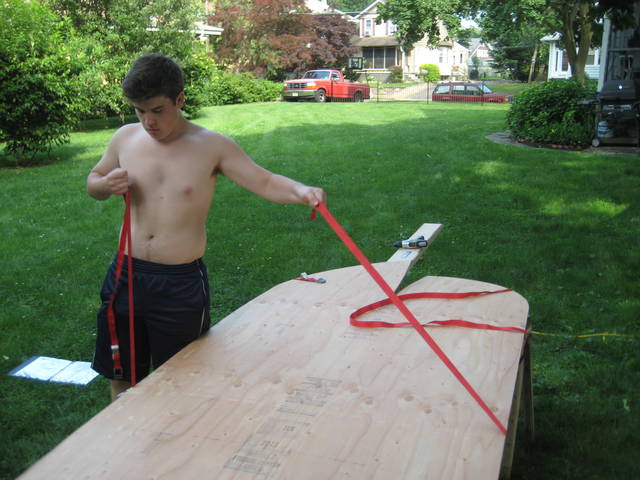
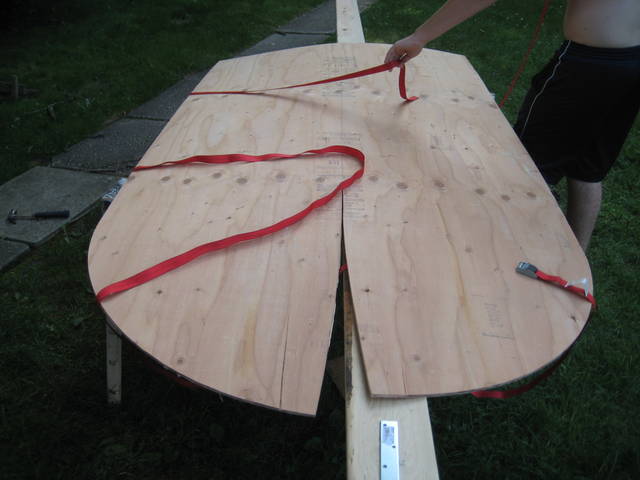
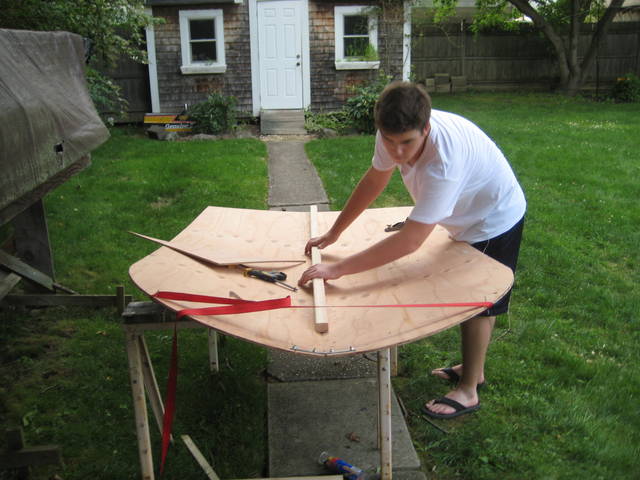
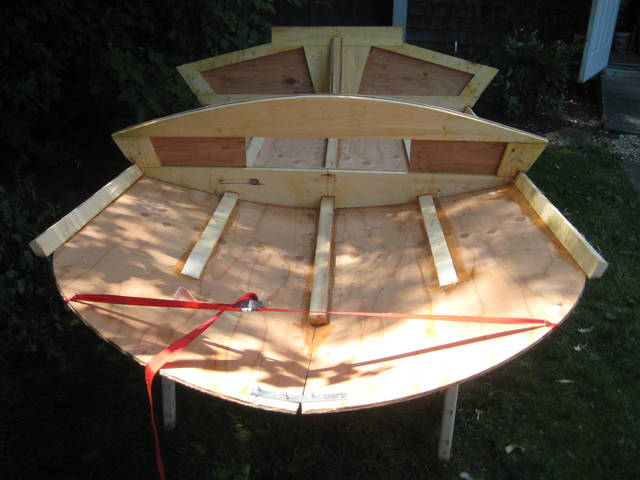
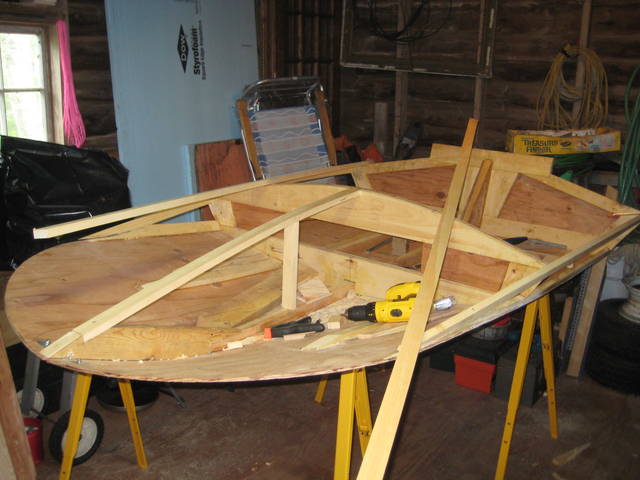
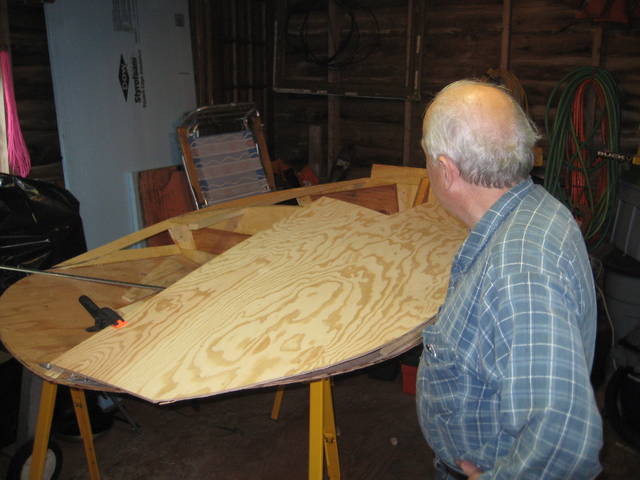
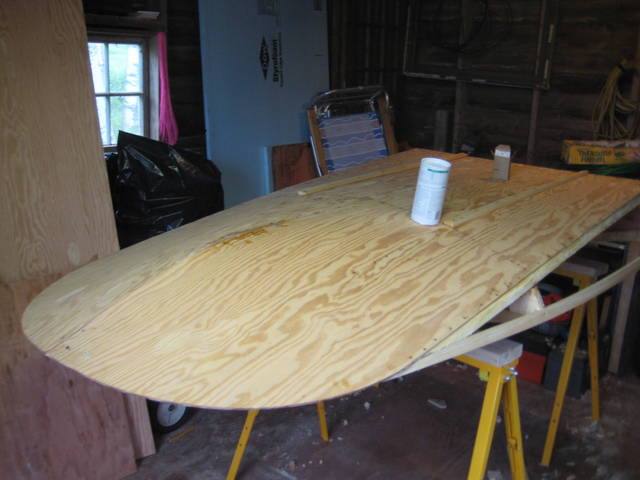
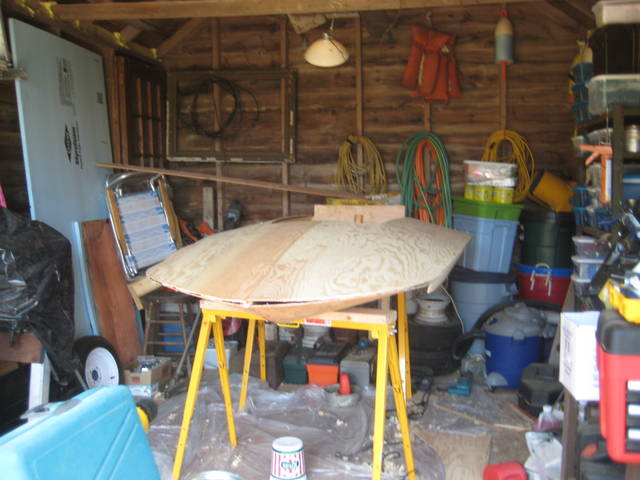
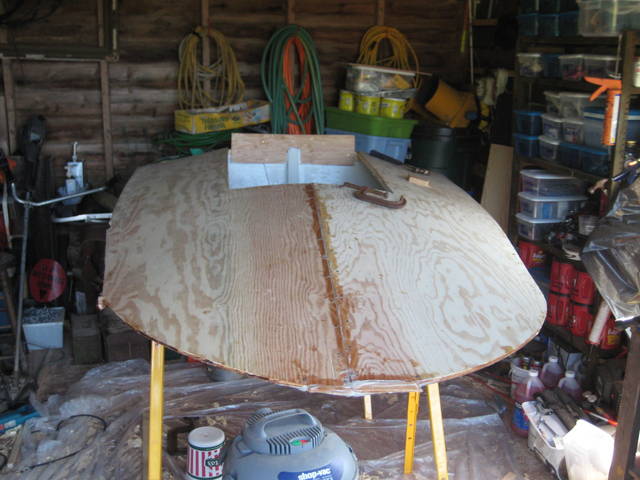
10 - Straps are used to pull the bottom panel into shape. The bottom panel is one single sheet of plywood. |
|
|
11 - The slit in the panel is drawn according to the plans. |
|
|
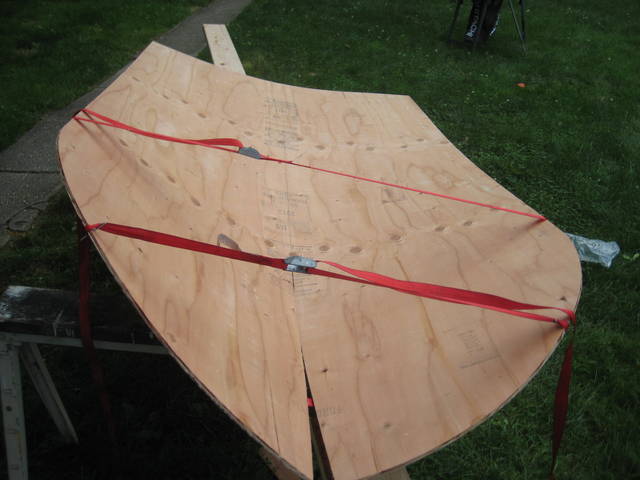
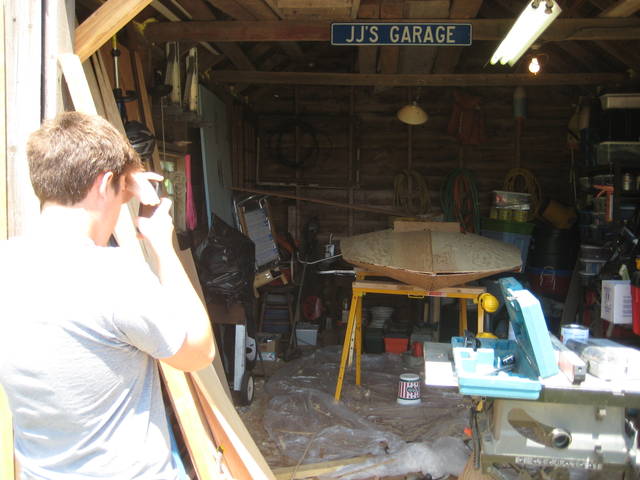
12 - The bottom shape can vary a lot with the slot shape and the amount of tension used to pull the slot together. |
|
|
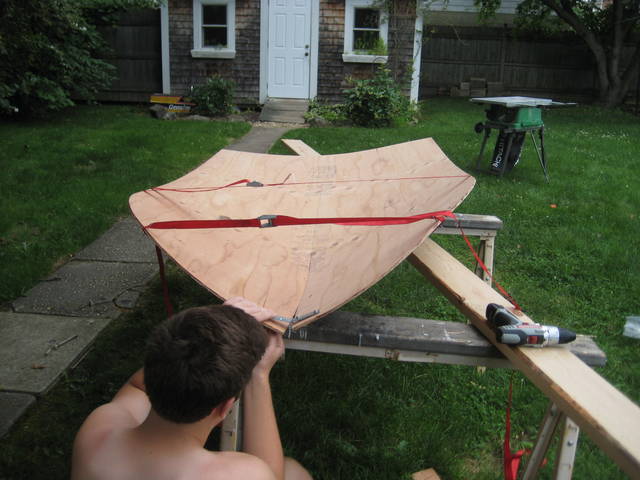
13 - Once the shape is close, the bow is tied together with a steel mending plate. |
|
|
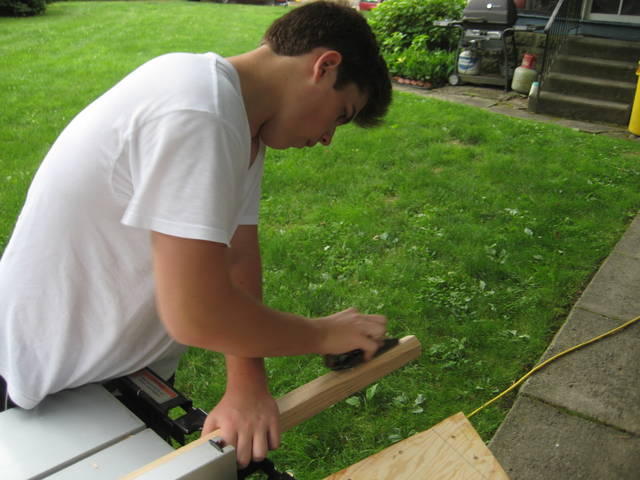
14 - Starting to fit the keel. |
|
|
15 - Checking the fit of the keel. |
|
|
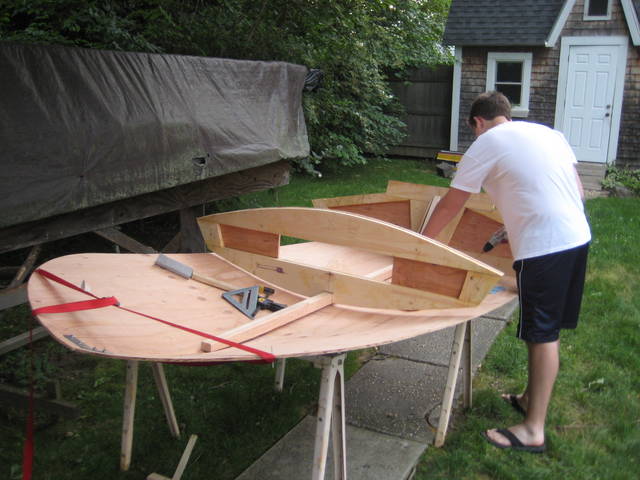
16 - Initial fit of the transom, midship frame, keel and bottom panel. |
|
|
17 - The transom and midship frame are fastened to the keel as one unit. |
|
|
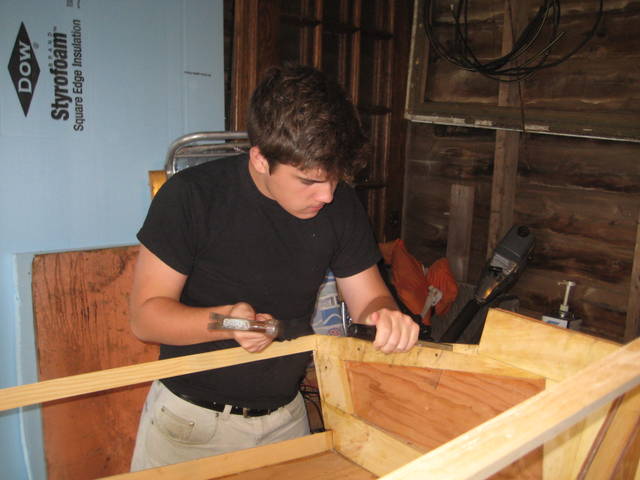
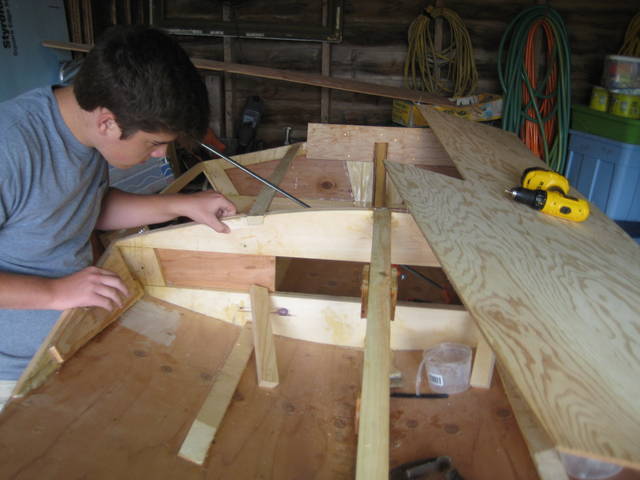
18 - Notching the transom for the bilge stringers. |
|
|
19 - The stringers are let into the midship frame. |
|
|
20 - Adjusting the slot in the frame. |
|
|
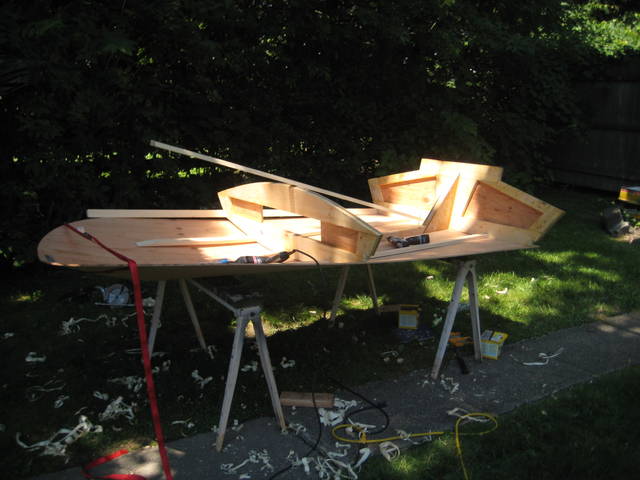
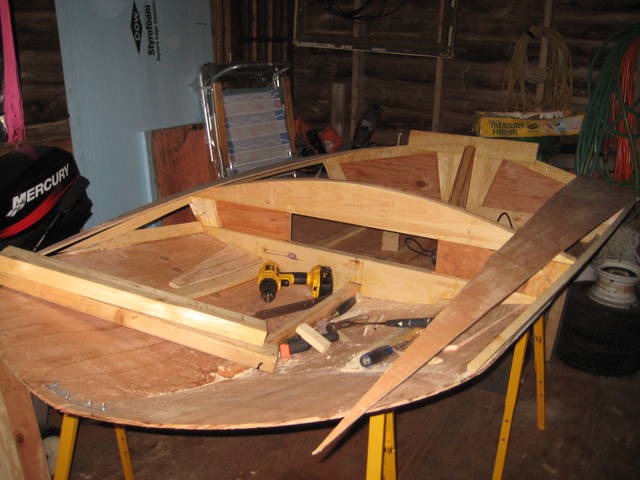
21 - Trial fit of the assembly. |
|
|
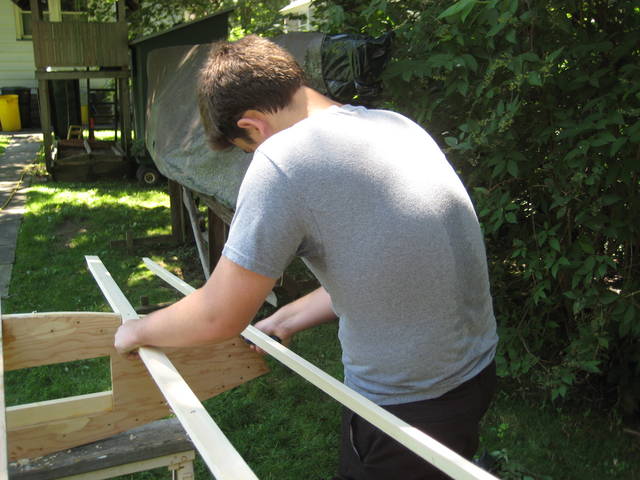
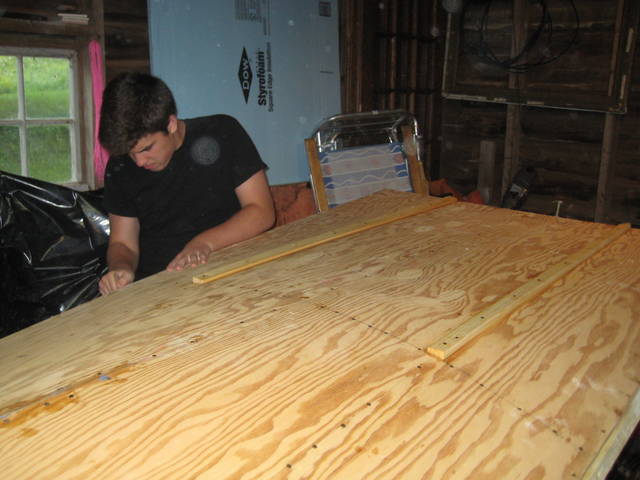
22 - While the parts are sitting together, lines are drawn around all of the parts to mark where to apply the glue and nails. |
|
|
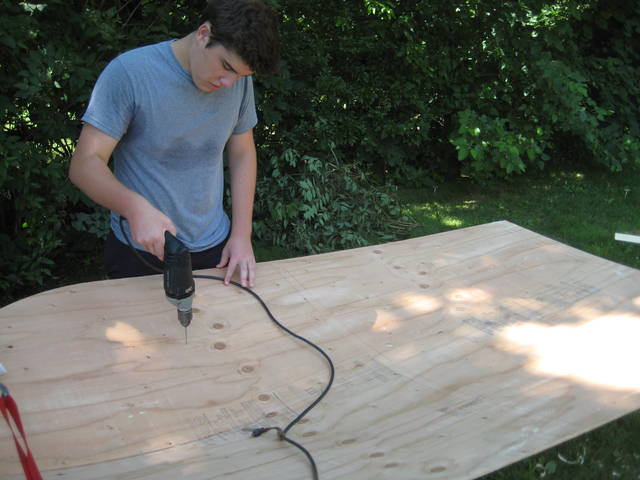
23 - Holes are drilled in the middle of the marked lines which are used as reference points to draw lines on the other side of the bottom panel to show where to nail. |
|
|
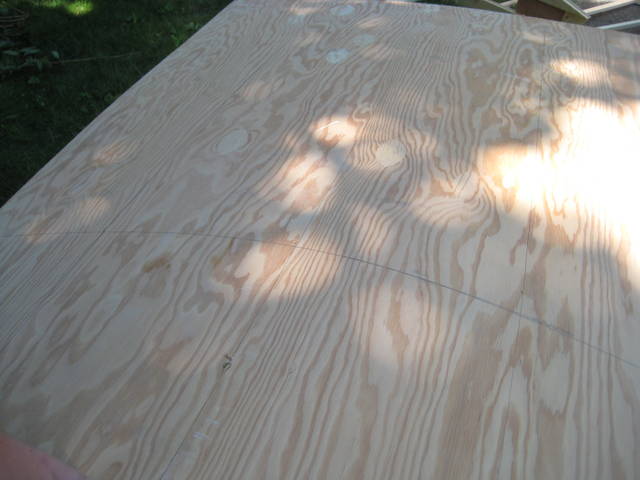
24 - This shows the lines drawn on the bottom side of the plank. |
|
|
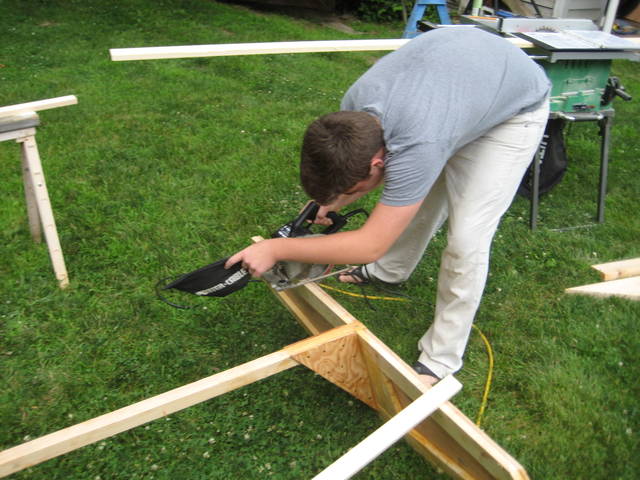
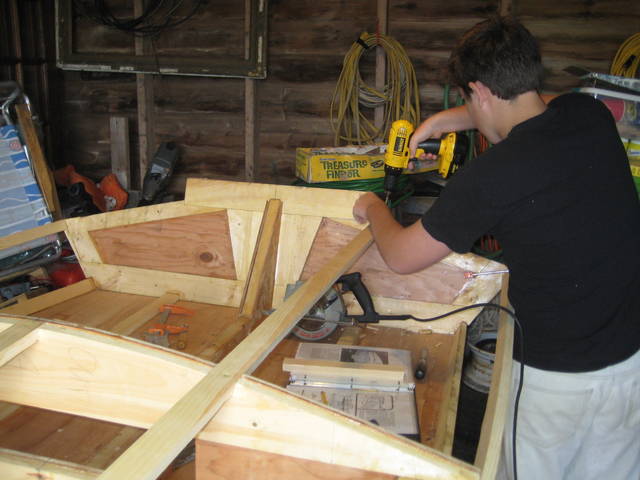
25 - Time was short so all of the stringers and the bottom panel were glued and nailed in one session. |
|
|
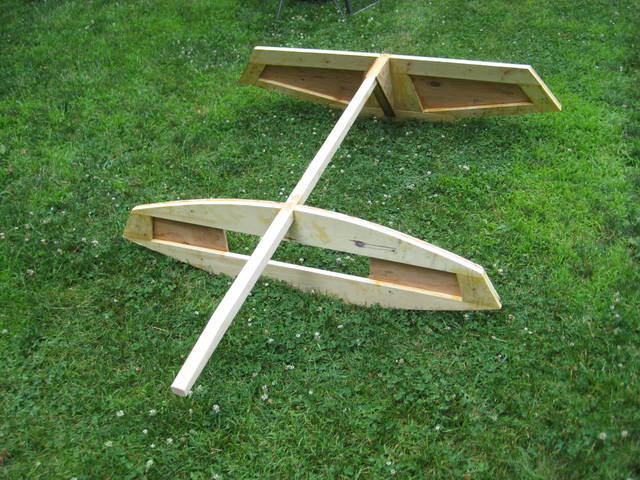
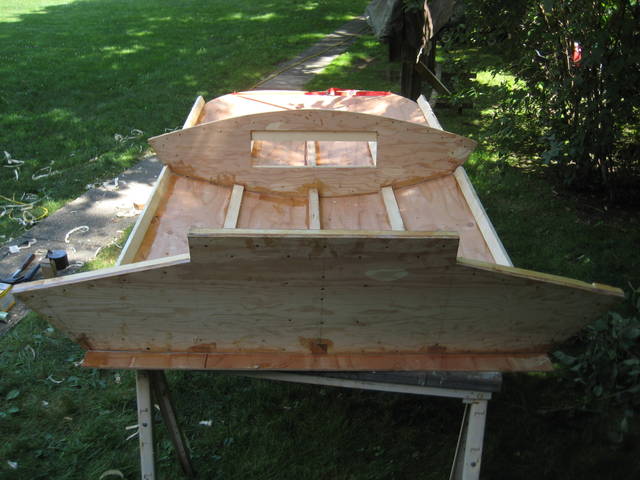
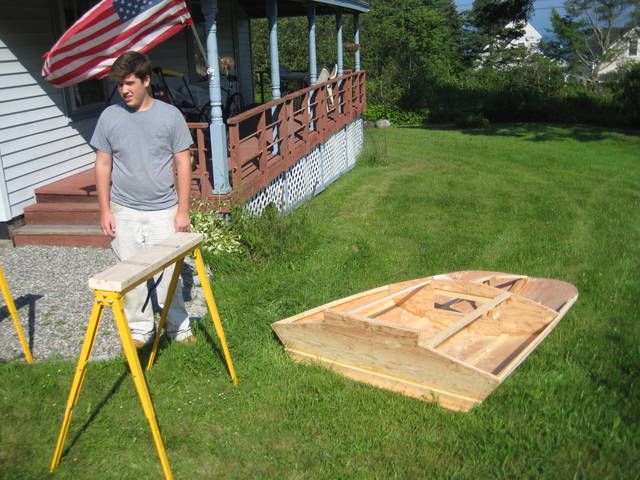
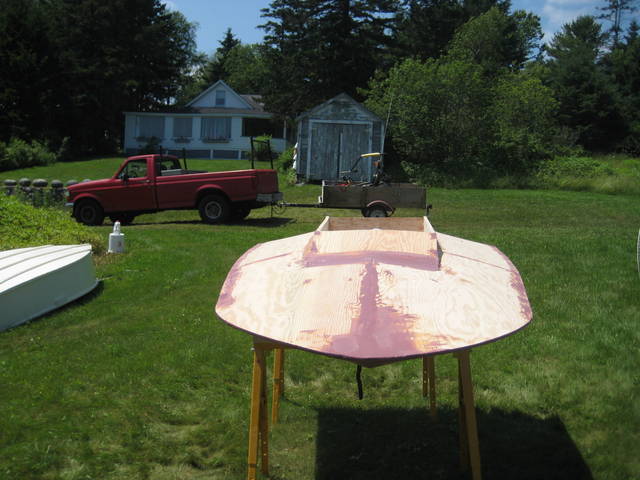
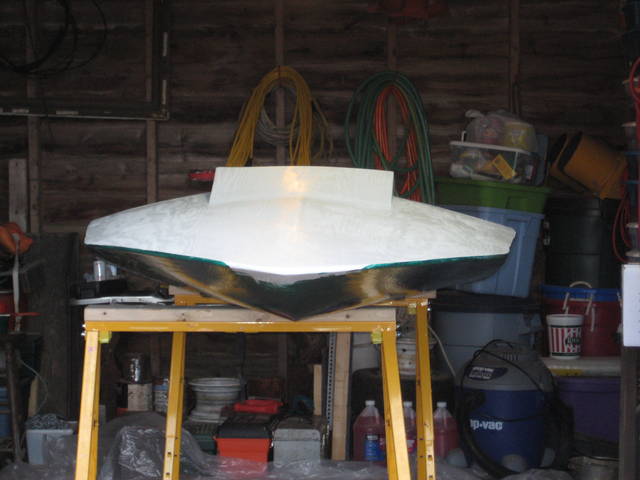
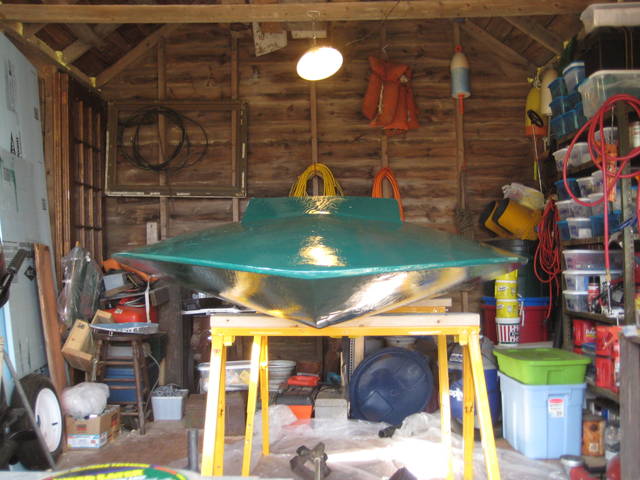
26 - Completed bottom assembly viewed from the stern. |
|
|
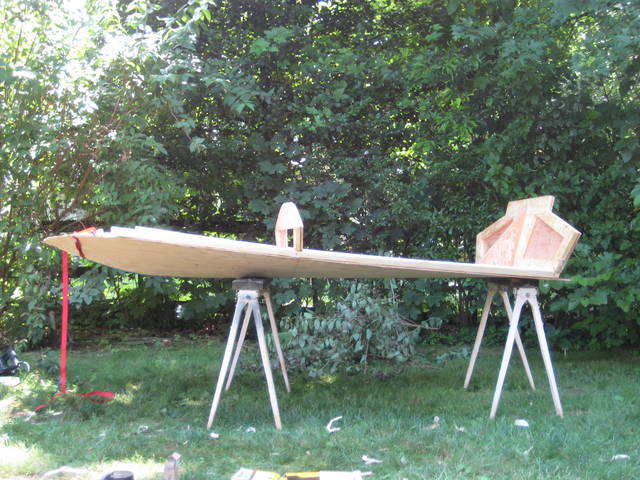
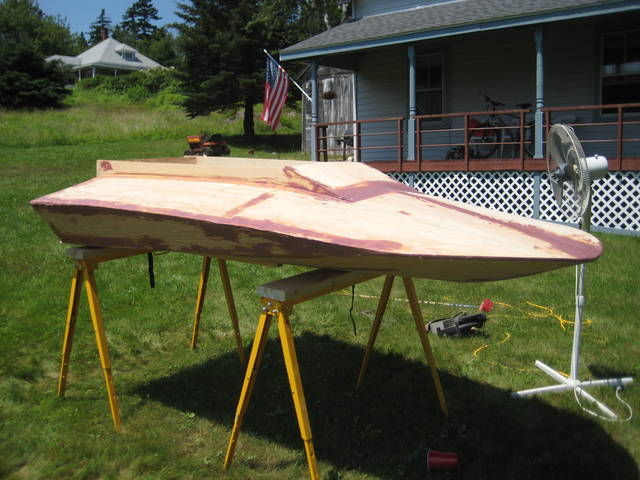
27 - Side view. |
|
|
28 - Top view. |
|
|
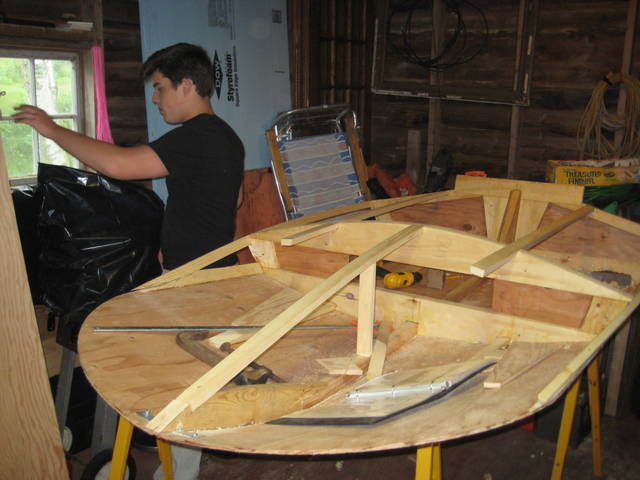
29 - Laying out the carlins. Note that the deck layout on this boat was different from the plans. |
|
|
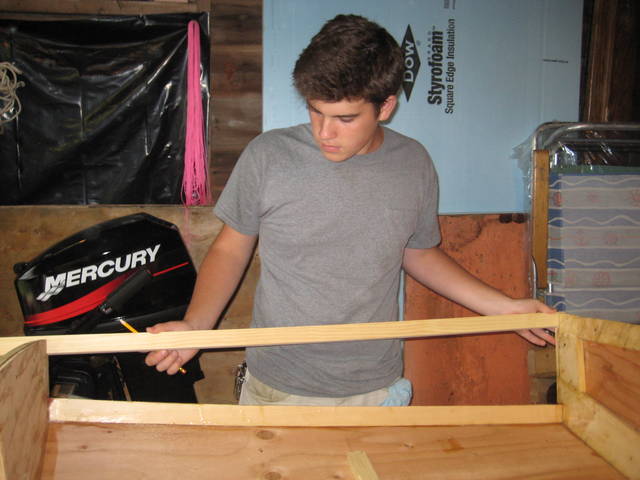
30 - Initial fitting of the sheer clamps. |
|
|
31 - The deck layout is checked for fairness with the pieces of plywood used for the side panels. |
|
|
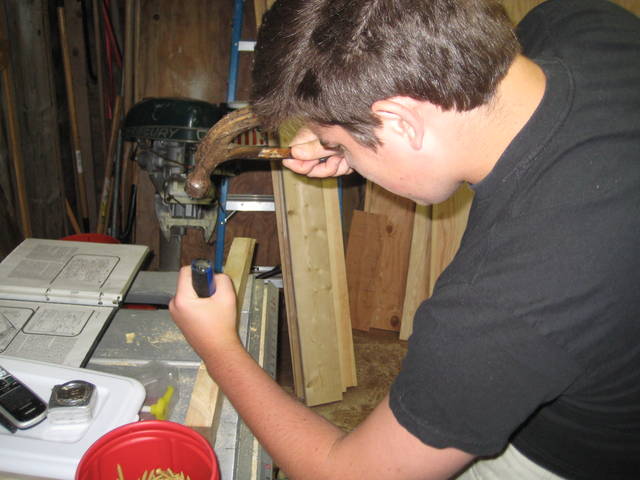
32 - Notching the stem. |
|
|
33 - Bow area - stem to be installed next. |
|
|
34 - Deck batten and stem in place. |
|
|
35 - A temporary screw is installed in the carlin. |
|
|
36 - Notching for the carlin. |
|
|
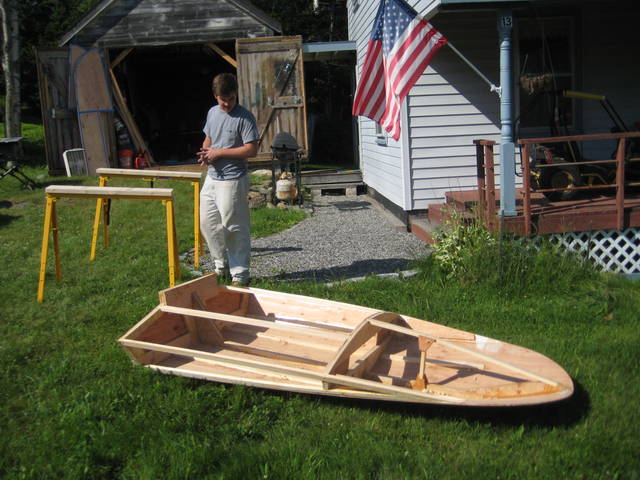
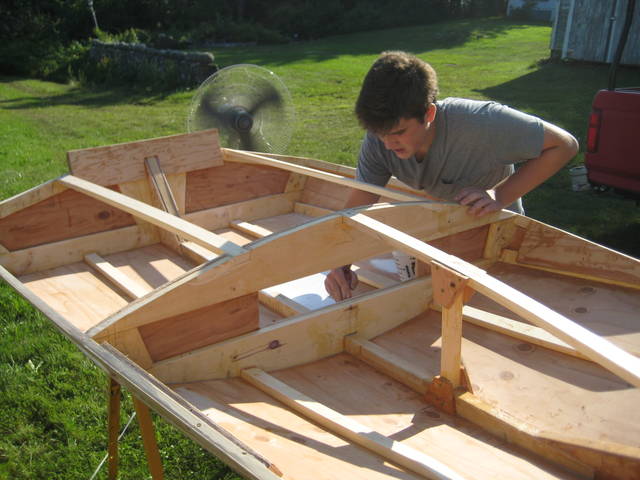
37 - View of the deck framing. |
|
|
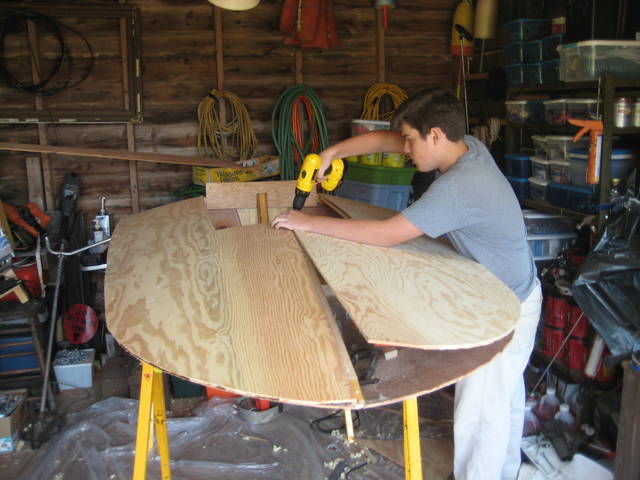
38 - Initial fit of the port deck. Note that in the original plan the deck did not require two sheets of plywood. |
|
|
39 - Inspecting the deck. |
|
|
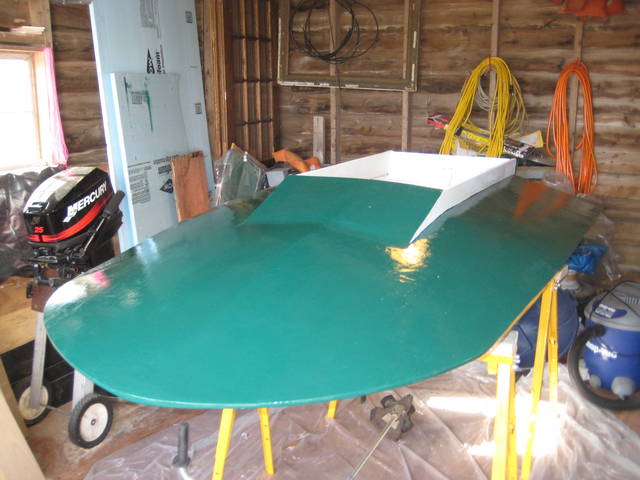
40 - Hanging a motor on the transom for the first time to check the fit of the transom knee. |
|
|
41 - Stem glued in. |
|
|
42 - Bottom anti-skid strips glued on. |
|
|
43 - Fitting the side panels. |
|
|
44 - The carlins have been cut flush with the midship frame. |
|
|
45 - Temporarily screwing the decking in place. |
|
|
46 - Now is a good time to stand back and take a look. |
|
|
47 - The decking was a little short at the bow, This was filled later when the deck was glued on. |
|
|
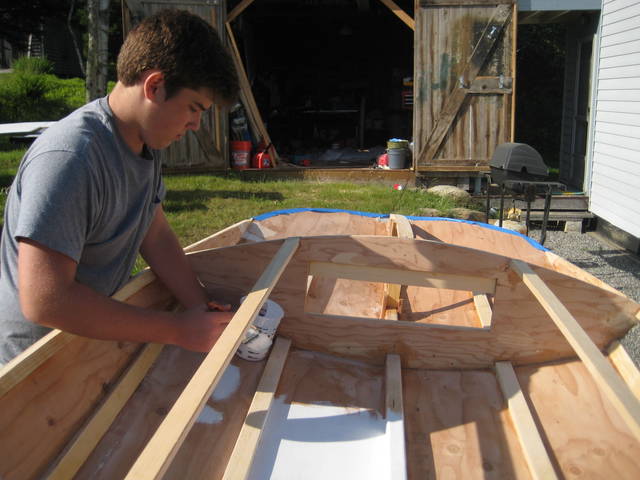
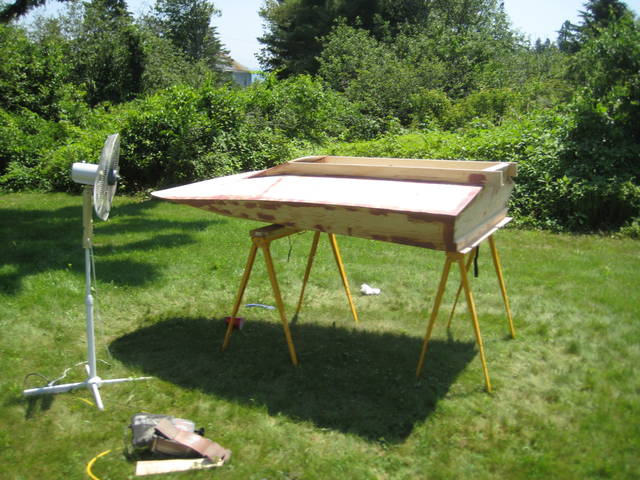
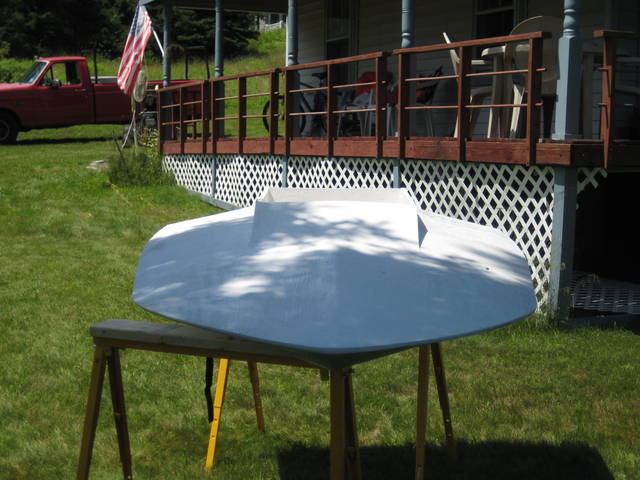
48 - The boat was taken outside to sand and paint the interior. |
|
|
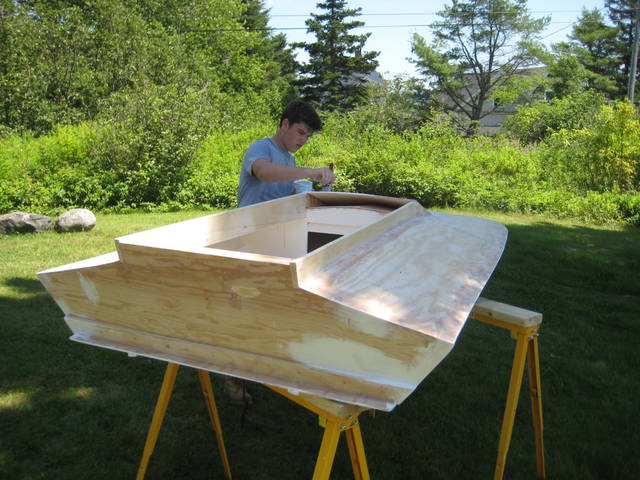
49 - Another view of the interior. |
|
|
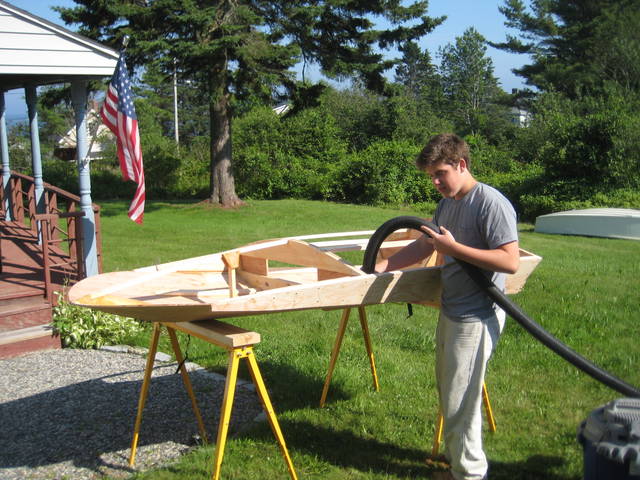
50 - Vacuuming out the dust. |
|
|
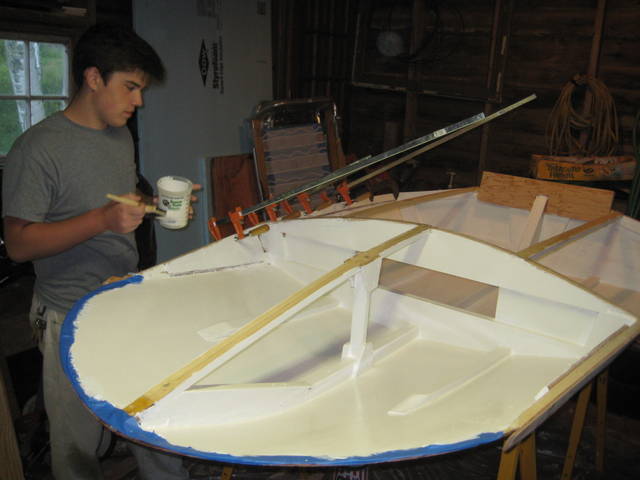
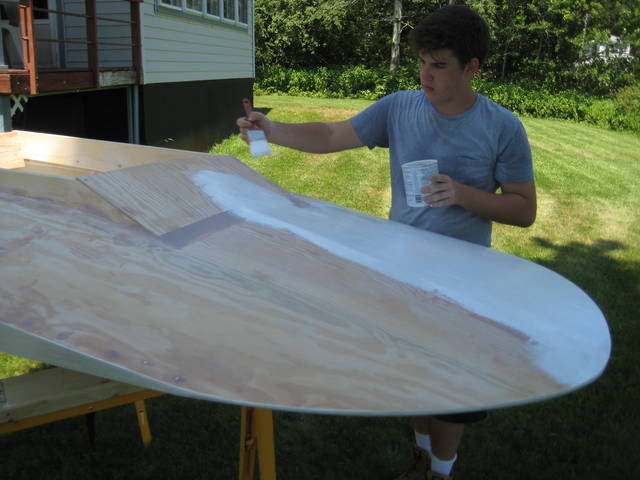
51 - Now is the best time to prime and paint the interior. |
|
|
52 - Another view of priming the interior. |
|
|
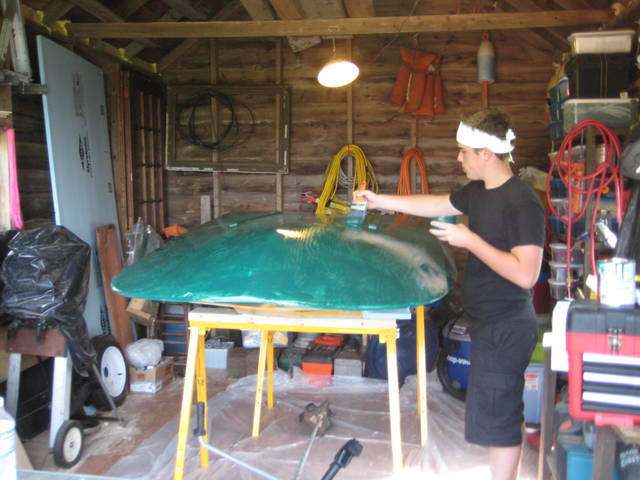
53 - Applying the finish coat on the interior. |
|
|
54 - The decking has been glued and screwed in place. |
|
|
55 - The coamings have been installed and epoxy filler putty has been applied. |
|
|
56 - A good bit of fairing was needed on the foredeck. |
|
|
57 - Another view of the fairing putty. |
|
|
58 - Applying the primer to the outside of the hull. |
|
|
59 - Priming the foredeck. |
|
|
60 - Transon view. |
|
|
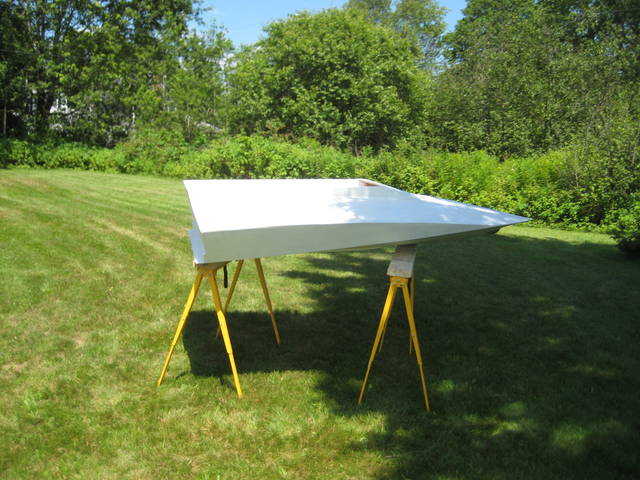
61 - Priming completed. |
|
|
62 - Bow view of the primed hull. |
|
|
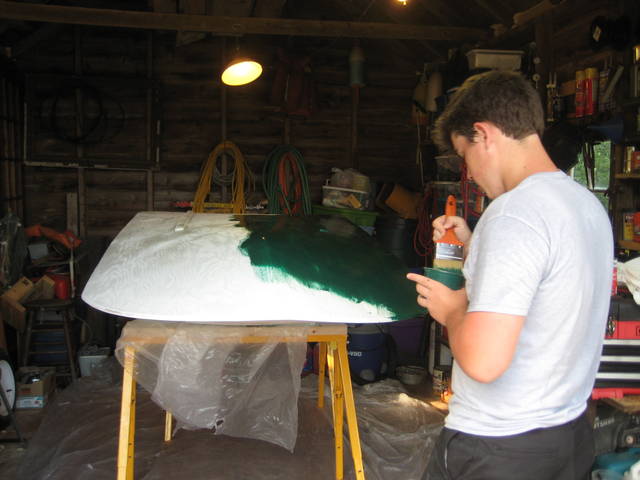
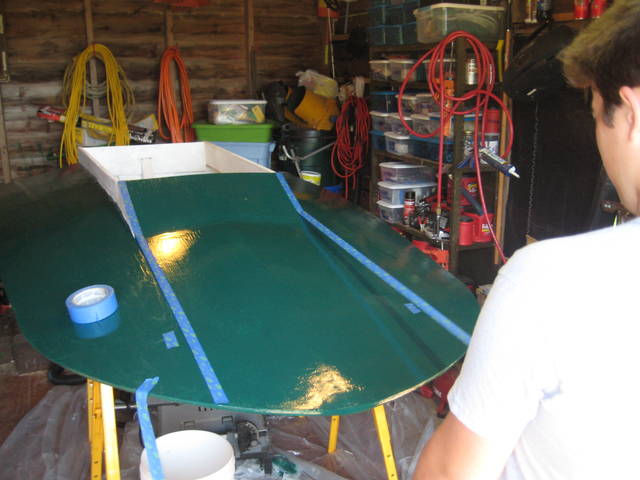
63 - First finish coat on the bottom. |
|
|
64 - More of the first finish coat on the bottom. |
|
|
65 - Flipped over to paint the topsides. |
|
|
66 - Second coat being applied to the bottom. |
|
|
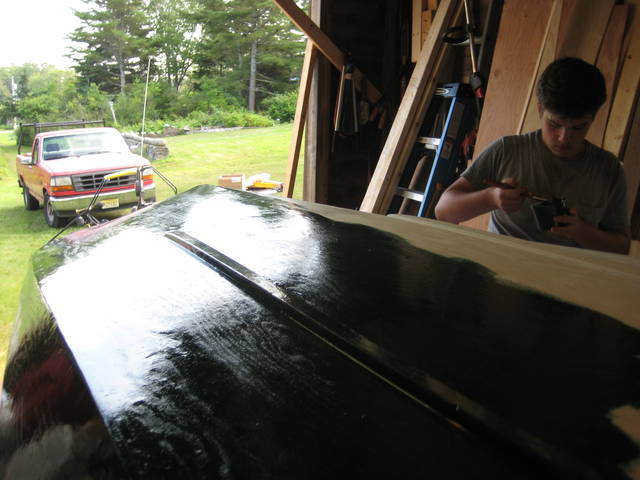
67 - Second coat on the topsides. |
|
|
68 - Another view of the topsides. |
|
|
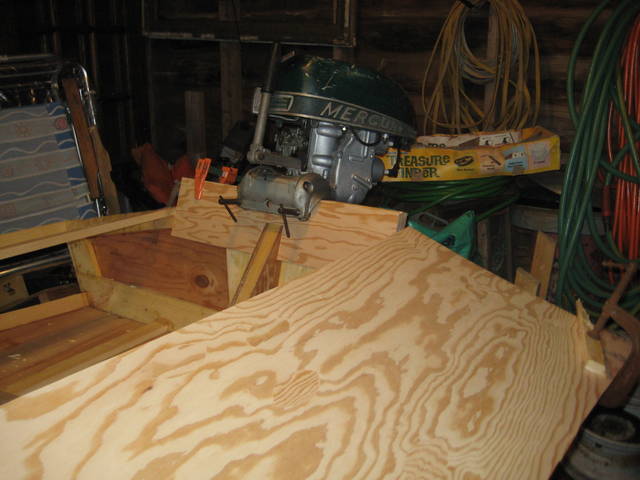
69 - A 1951 Mercury "Super 5" was purchased and put in shape to be used. |
|
|
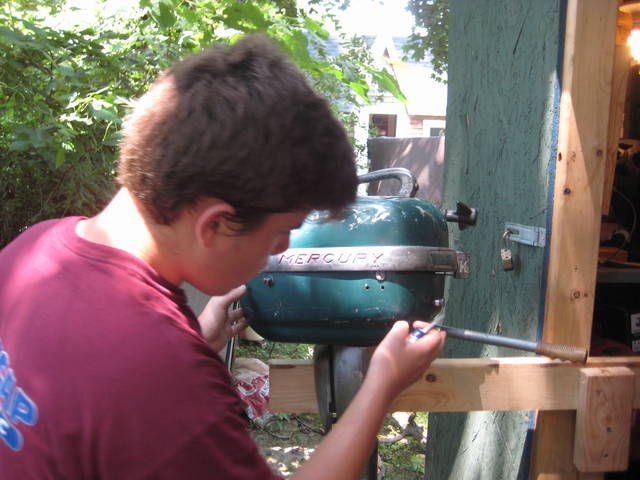
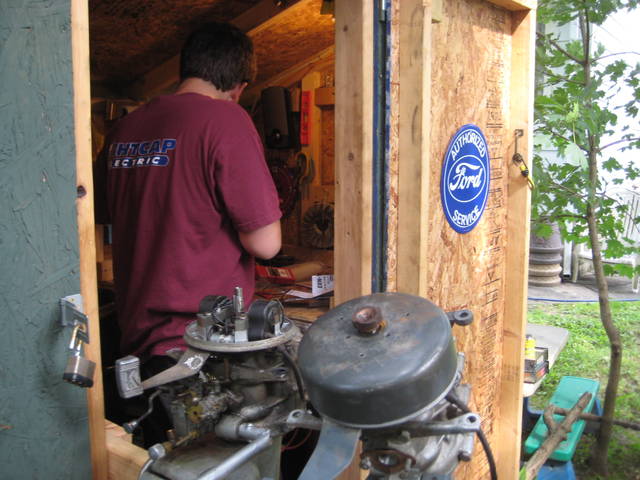
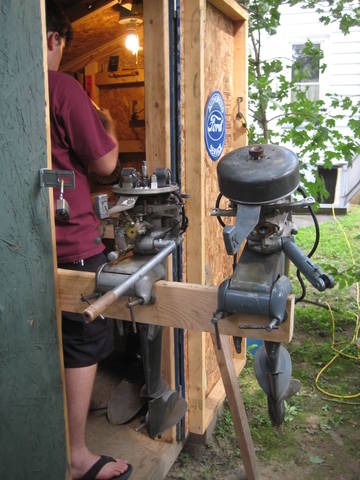
70 - The tank and cowl has been removed for service. The motor needed new coils, plugs and an impeller. The tank and carburetor were cleaned and a new float put in the carb. |
|
|
71 - Sitting next to it is another KF5 parts motor bought for $35 - it ended up donating the lower unit and transom clamp. |
|
|
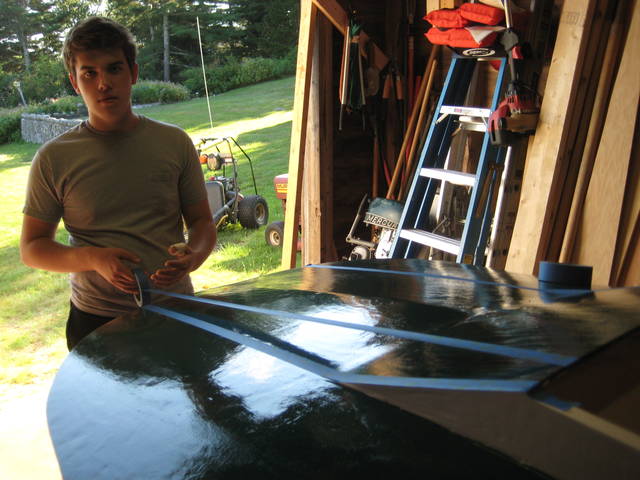
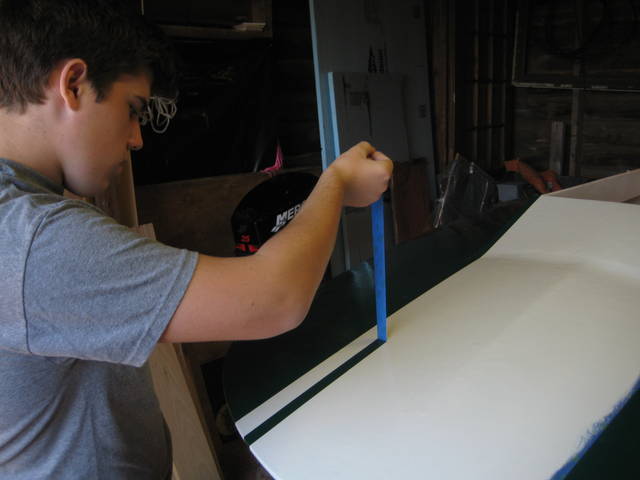
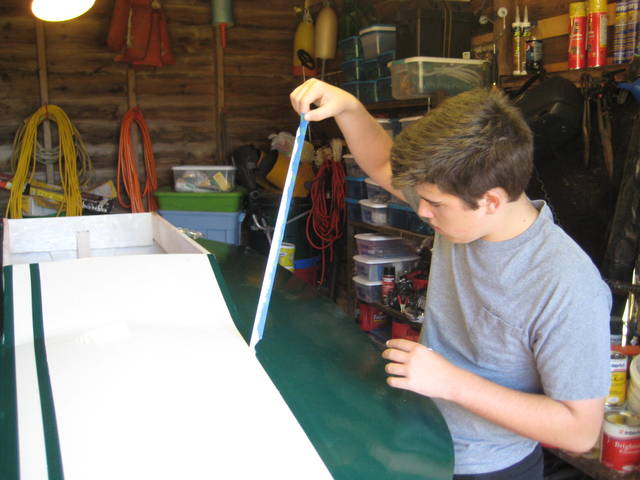
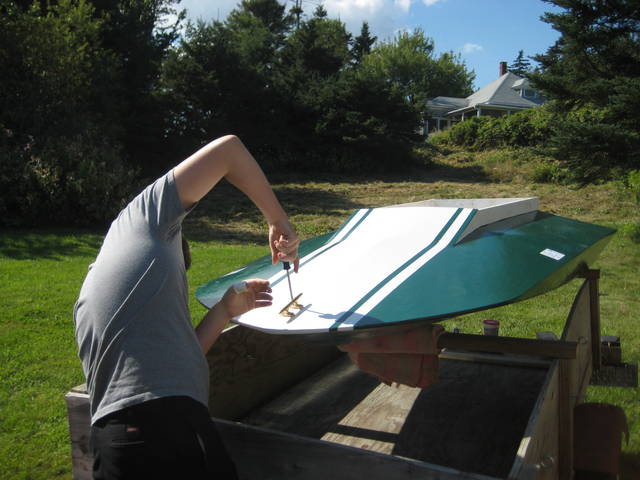
72 - Laying out the tape for the striping. |
|
|
73 - Getting the stripe to look straight at the angle from different perspectives took a little fussing, but not much. |
|
|
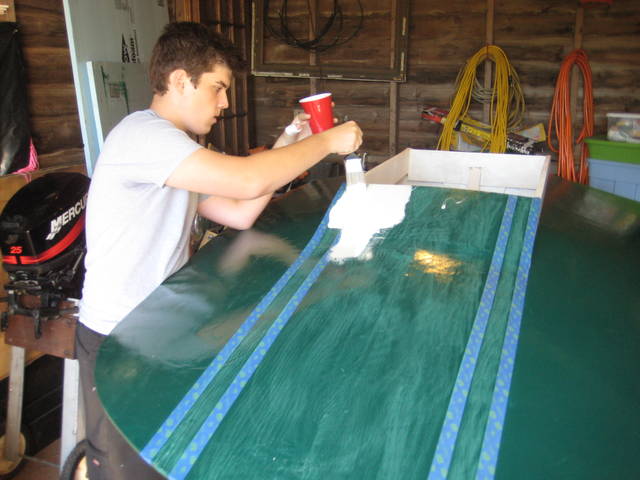
74 - First coat of paint for the stripes being applied. |
|
|
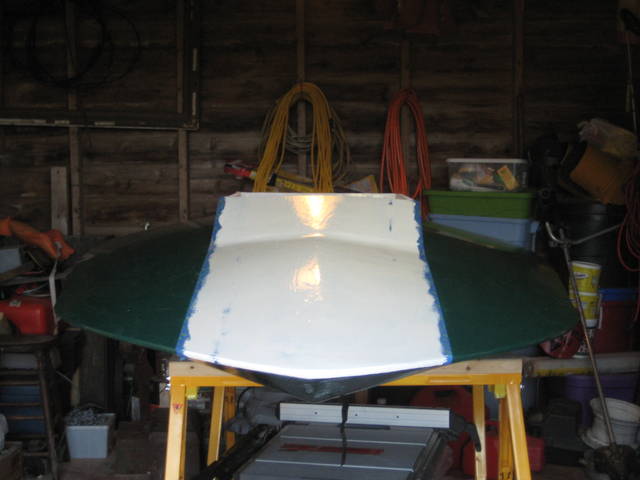
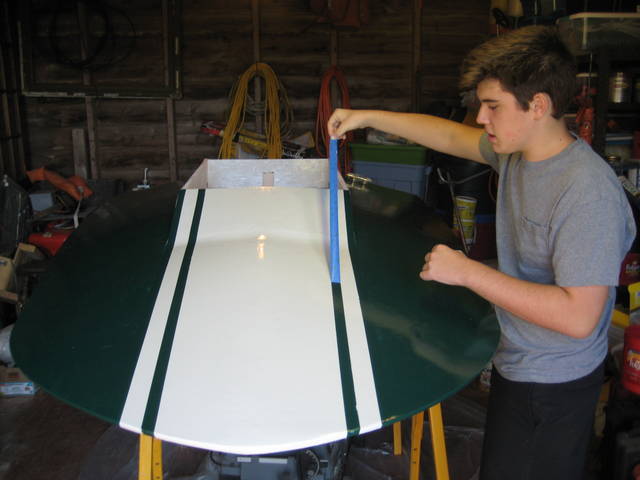
75 - Completed first coat for the striping. |
|
|
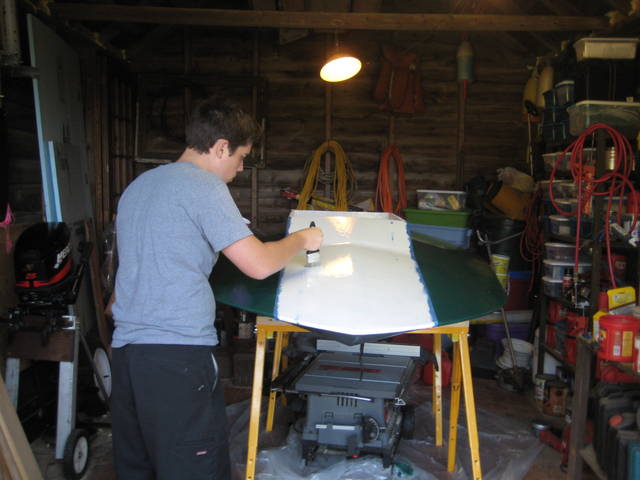
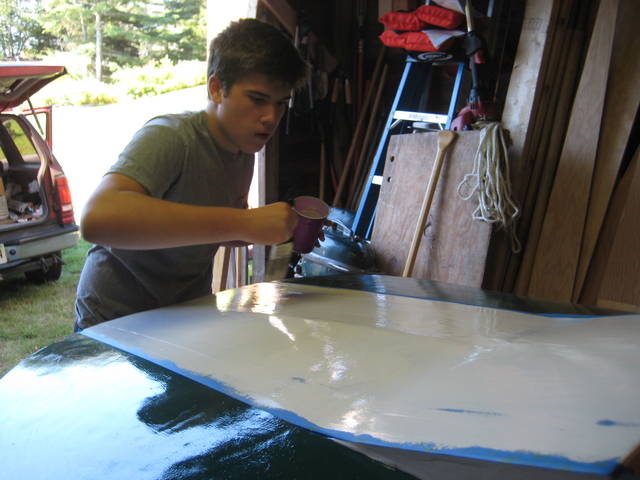
76 - Applying the second coat to the striping. |
|
|
77 - Another view of applying the second coat to the striping. |
|
|
78 - The tape was removed as soon as the second coat was tacky. |
|
|
79 - The stripe edges looked better than expected. |
|
|
80 - Removing the tape from the port side. |
|
|
81 - The last piece of tape is removed. |
|
|
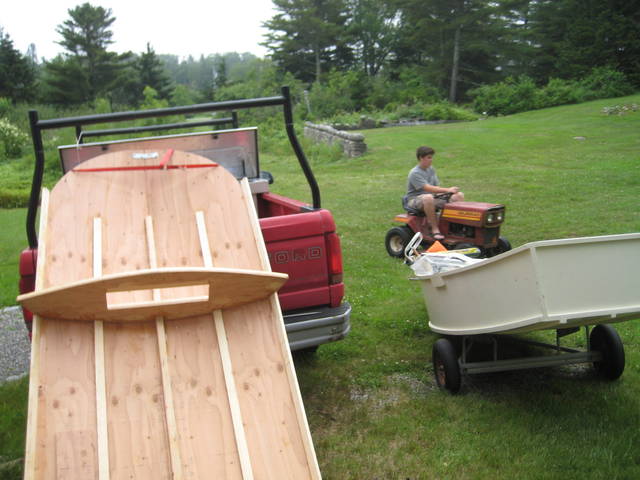
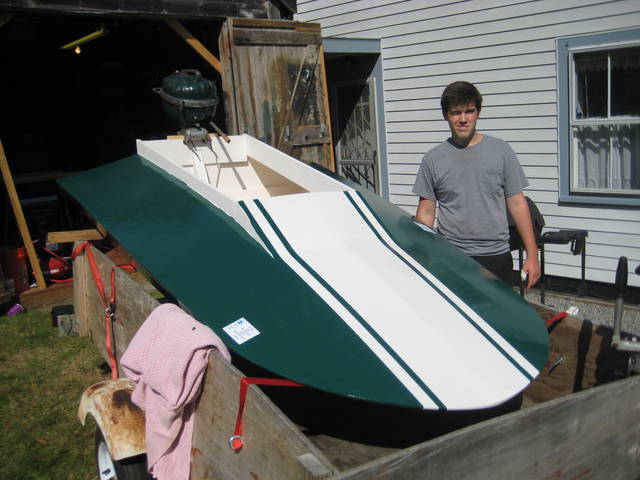
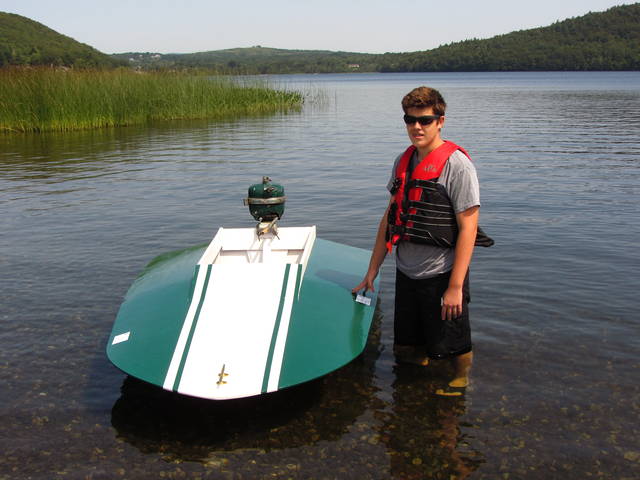
82 - Loaded up on the trailer, ready for the launching. |
|
|
83 - Attaching a cleat to the foredeck. |
|
|


Back to Full Size Boats |